
Webflow Interactions vs GSAP: What to Use and When
If you’re working in Webflow, chances are you’ve used Interactions to add some movement to your site. They're great for simple, no-code animations. Hover effects, fade-ins, and basic scroll animations are all easy to set up right inside the Designer.
But when you need more control, smoother transitions, or scroll-based logic, Webflow alone might not be enough.
That’s when tools like GSAP start to make sense.
Here’s a breakdown of how I see the difference and when I choose one over the other.
What are Webflow Interactions?
Webflow Interactions are built-in animation tools that let you animate elements visually, without touching code. You can trigger them on clicks, hovers, scrolls, or page loads.
They're ideal for things like fading in sections, moving elements into view, or scaling icons on hover. The best part is that it all happens right inside the Designer, using a timeline-like interface. For many projects, that’s all you need.
What Webflow Interactions Can’t Do
While Interactions are great for quick effects, they can feel limited when you want more advanced motion. You might notice it's hard to manage complex timelines or sync multiple animations perfectly.
For example, scroll-based animations in Webflow are basic. You can't easily pin elements, trigger animations based on scroll progress, or chain together sequences across sections. Also, if you’re building components that repeat across a page, you’ll often have to duplicate the same animation setup manually.
It’s also tricky to link animations to user data or connect them with other scripts. That’s when you start reaching for something more powerful.
Credits:
Webflow University
What is GSAP?
GSAP stands for GreenSock Animation Platform. It's a JavaScript library that gives you full control over how and when animations run. You can animate just about anything, from text and images to SVGs and entire sections.Unlike Webflow Interactions, GSAP lets you control the timeline, easing, duration, and sequence of animations with precise logic. It’s smooth, fast, and works beautifully for things like scroll effects, reveal animations, or staggered transitions.
And yes, you can use it inside your Webflow projects.
Why I Use GSAP with Webflow
I started using GSAP when I needed to go beyond what Webflow could offer. For scroll-triggered effects, delayed entrances, and animations that follow a precise sequence, GSAP gave me the flexibility I was missing.
Today, I use Webflow for the basics and bring in GSAP when I need more control. Simple hover effects? Webflow. Scroll animations or pinned sections? GSAP.
Now that Webflow supports native GSAP integration, you don’t need to embed external scripts or host them somewhere else. Just paste the code into your custom scripts, and you’re ready to go.
ScrollTrigger, Lottie, and Other Tools That Help
GSAP becomes even more powerful when you use plugins like ScrollTrigger. This tool helps you trigger animations when elements enter the viewport, pin elements in place, or build entire scroll-based storytelling experiences.If you’re working with custom animations, Lottie is another great option. You can create lightweight animations in After Effects and use them in Webflow with the Lottie player. Hosting them on LottieFiles ensures fast playback and smooth delivery.These tools make animation more interactive and allow you to go way beyond basic transitions.

Credits:
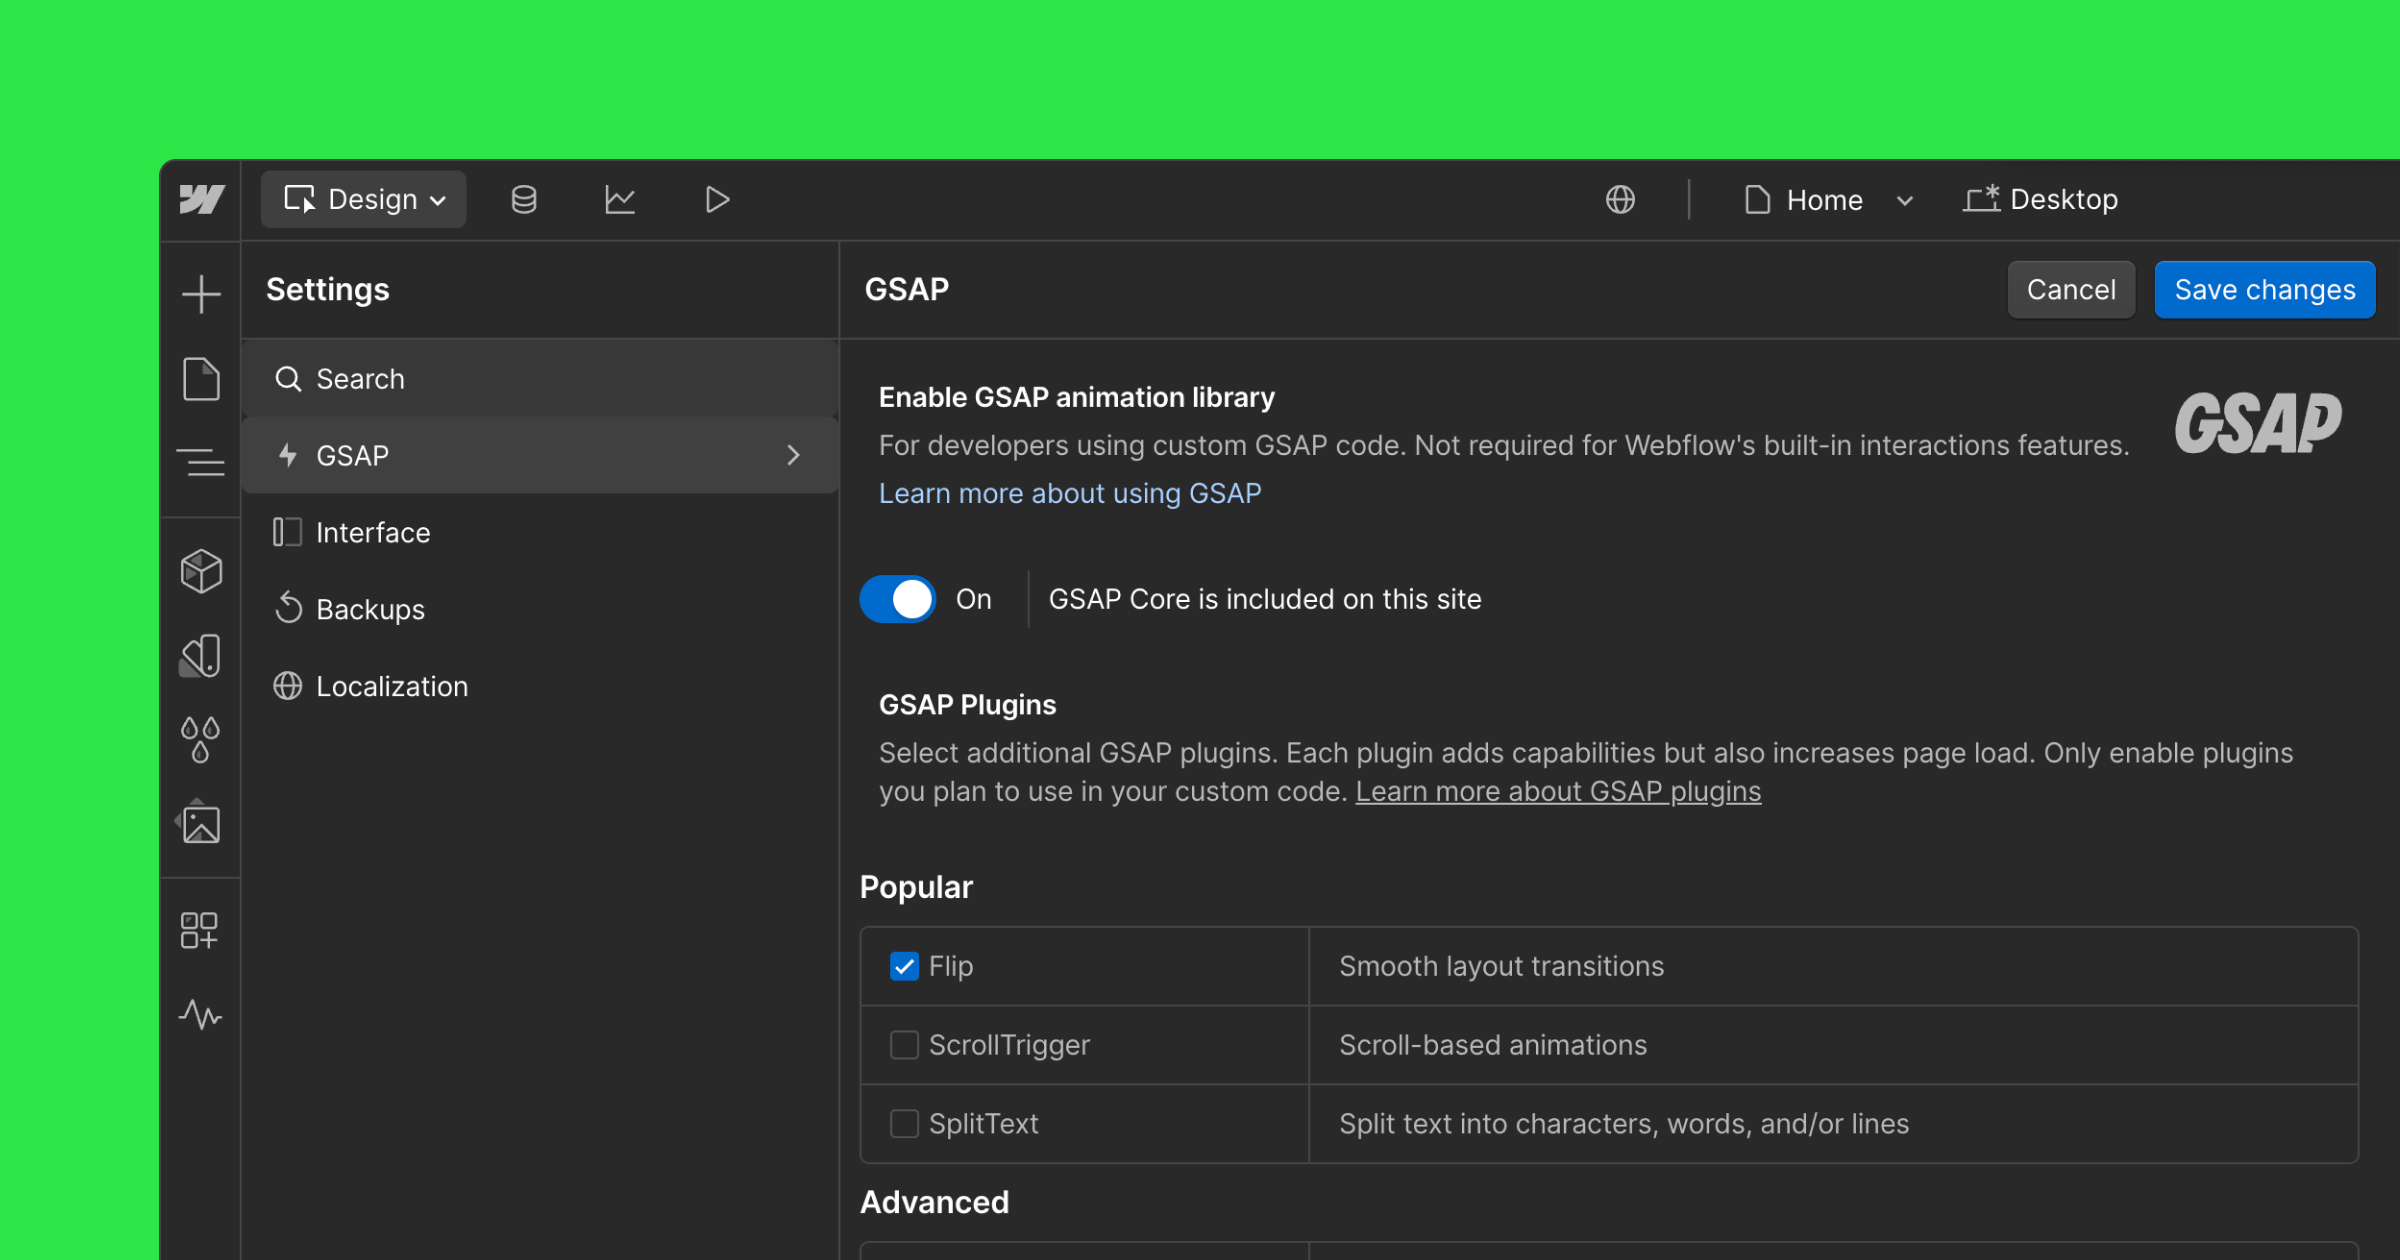
New: Webflow Now Supports GSAP Natively
Webflow recently added GSAP support directly into the Designer. You can now add GSAP scripts without using external hosting or embeds.
This means you can mix Webflow’s visual tools with GSAP’s power inside the same project. It works with Webflow’s new DevLink and Logic features too.
Credits:
Webflow
Combining Webflow and GSAP Without Conflicts
This is important. If you’re using both Webflow and GSAP in the same project, make sure they don’t animate the same element. Doing so can cause bugs or unexpected behavior.
Use Webflow Interactions for simple effects like clicks and hovers. Let GSAP handle scroll-based movement, timeline sequences, and custom transitions. This way, you get the best out of both tools without them stepping on each other’s toes.
Tips That Helped Me Get Started
When I first began using GSAP, I made the mistake of trying to animate too many things at once. Here’s what worked better:
Start small. Pick a single section or element and animate that first.
Try replacing one Webflow animation with a GSAP version to understand the difference.
Keep your early timelines simple. One or two elements at a time is enough to learn.
Use class selectors instead of IDs. This makes your code more reusable, especially with CMS items.
Check your animations on all devices. GSAP’s matchMedia tool is great for handling screen-specific behavior.
Avoid animating the same element with both Webflow and GSAP. Choose one tool per element.
Use ScrollTrigger for anything scroll-related. It’s more flexible than Webflow’s scroll effects.
Explore GSAP DevTools for debugging. You can scrub through timelines and tweak timings visually.

Credits:
A Resource I Recommend
If you're serious about learning GSAP in a Webflow context, check out Timothy Ricks on YouTube. His tutorials are practical, well-paced, and beginner-friendly. He walks through real-world projects and explains how to connect Webflow design with custom animation code.
You can watch his tutorials here: Timothy Ricks YouTube Channel
In a Nutshell
Webflow Interactions are great for quick and clean animations with no code. But when you need more control, GSAP and Lottie are solid tools to have in your workflow.
You don’t have to choose one over the other. Use Webflow for what it does best, and bring in GSAP or Lottie when the project calls for more advanced movement. The key is to understand which tool to use when.
Once you get the hang of it, combining these tools opens up a whole new level of animation and interaction in Webflow.

Need a creative team to take care of your brand? Anto is just a call away.
Schedule Call

We love building ideas from scratch. Got one? Kavya’s your go-to.
Schedule Call

Have plans for a new website or an upgrade? Chat with Siva.
Schedule Call

Struggling to explain your product or service clearly? Talk to Rohit.
Schedule Call

Need an animated 3D explainer for your product or service? Ping Pranav.
Schedule Call

Need a clean, fast website without the mess? Hit up Sachin.
Schedule Call

Got something brewing? Haris will connect the dots.
Schedule Call

Need fresh perspective or strategic clarity? Nirmal’s got you.
Schedule Call